(:

29.5.11

Hi everyone,

Go to Ventricular Projects to see my post about inspiration / things I'd like in my wardrobe.  There are four other ladies who have been posted for you to follow also!


Hmm!

23.5.11

After trying and failing to make time to sew, I have come to the conclusion that more tutorials are impossible during my exam period. Probably should have waited to start my blog until after I finished college, but oh well. I have one little tutorial that I took photos of ages ago and never uploaded, so I will post that at some point this week. I am studying 9am - 7:30pm every day and unfortunately just do not have the energy to do any sewing in the evening.

So I suppose this blog is on semi-hiatus? Maybe? I will try to post my little bag tutorial this week, so maybe not. We'll see! Just thought I would let you know the reason for my few updates. Hopefully I will be able to post two or three times a week once my exams are over and I have nothing to do but make things haha (:

Weeeelp here are some outfit photos. I usually post these on whatiworetoday2 on livejournal but will keep them here for now. I had to awkwardly go through pictures of me in the library and people kept walking past. I was like constantly flipping screens so people wouldn't think 'why are you looking at pictures of yourself' and 'what, you don't look like that - you have glasses and messy hair and you are wearing two navy blue things at once why would you do that get out of this library' YOU KNOW. Seriously though, I am wearing two navy blue things at once. Oh and I just saw someone look at my screen. I feel like creepy secret unfashionable blogger girl.

Cardigan: Uniqlo
Shirt: sister's
Watch: Asos
Dress (top): made it
Dress (underneath): H&M
Shoes: Ebay
(WORST PICTURE EVER SORRY excuse my dodgy extensions and strangely awkward way of standing, my boyfland was being a douche and this is my annoyed-but-trying-to-look-reasonable pose)
Coat: made it
Shirt: Uniqlo
Dress: vintage
Shoes: Ebay
Bag: vintage

Anyway... just before I leaf, I have to express two things:
1. I am, for the first time in my life, trying to grow my nails. I do not even remember a time when I didn't bite my nails so... this will take a while. They've grown about, what, 2mm so far? I'm still proud. I WANT TO BITE THEM SO MUCH but trying to tell myself it'll be worth it when I have nice normal-person nails. I would take a picture but they look a bit disgusting for some reason. Hopefully they'll sort themselves out over time :|
2. I turn 20 tomorrow!

GOODBYE

Tutorial: wrap bodice #1

16.5.11

I guess I was lying when I said I'd post this 'tomorrow'! Well here it is now. I'm calling it '#1' because I may make a different style wrap bodice at some point in the future. You can probably buy a pattern for this or something similar, as most of my sewing knowledge comes from patterns I've tried in the past. I believe one of the first patterns I ever bought had a dress with this type of bodice. I always advise (when people ask) to use patterns at least *sometimes* when teaching yourself to sew. It really really helps, especially when you're making something quite complicated. You may or may not find this relatively complicated but I tried to take as many photos as possible so you can see everything that's going on.

What you need...

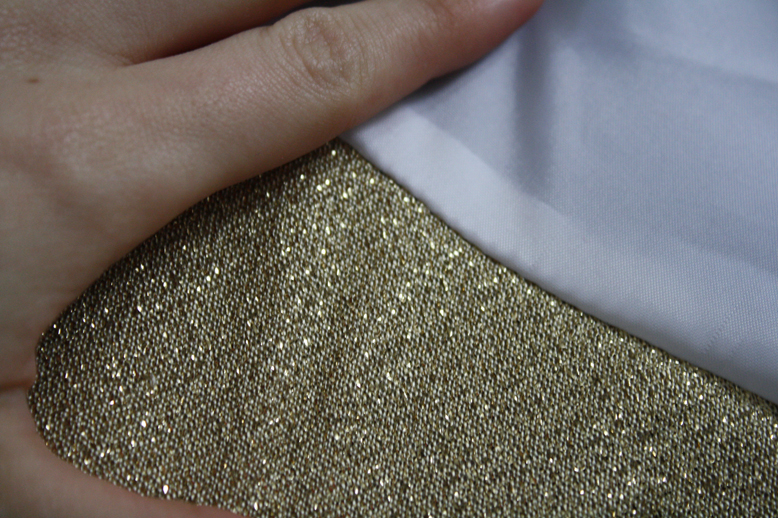
Fabric + lining fabric. I can't really advise you on how much fabric you need because I don't know what you want to do on the bottom half. Maybe about 2m would be safest?
Sewing machine, thread, scissors, pins

What you must do

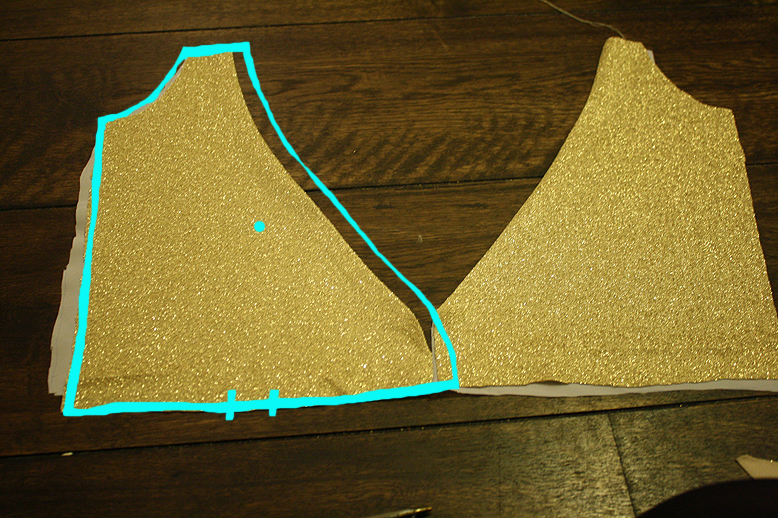
Fold over your fabric and draw this shape on it (PIECE A). Draw it out on paper first if it's easier. Now I'm sorry this (a)(b)(c)(d) thing is really confusing, but honestly this should make sense when you draw it out on paper haha.
(a) width of shoulder strap + 1"
(b) this is part of the armhole but not the whole thing, this should be easier to figure out when you've done the other sides. In my diagram I for some reason made the armhole longer than it should be. Refer to my picture below for a better idea of what it should be like haha. SORRY FOR BEING REALLY BAD AT TUTORIALS.
(c) approx from just above your bust to your waist line, more or less curved according to your chest size + 1-2"
(d) this is approx 1/6 of your waist. It should follow the general shape of your body, I suppose. You could always make this wider and trim it down later. + 1"

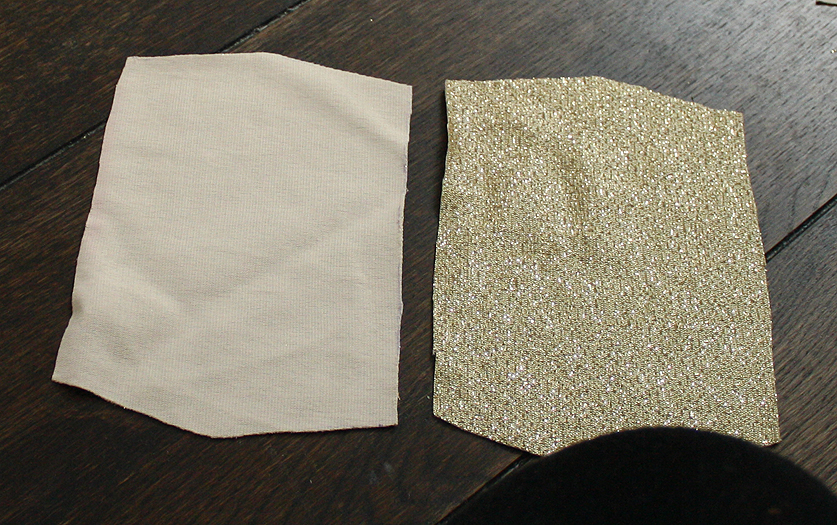
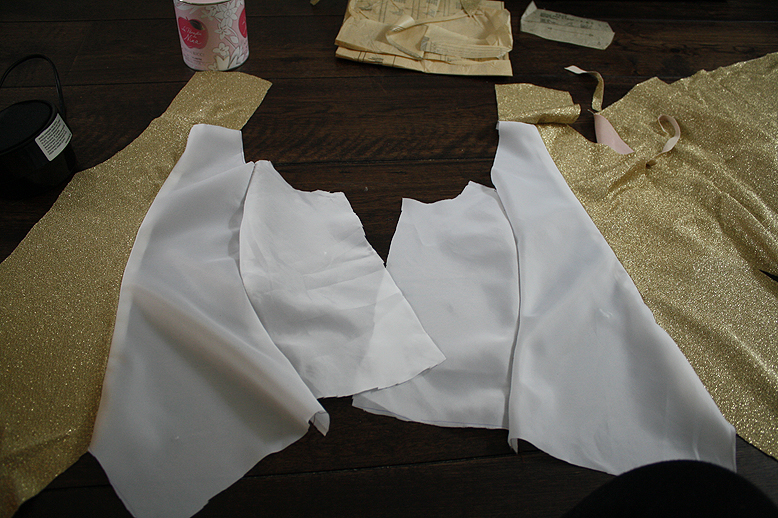
When you cut this out on your folded fabric, you should get two opposite pieces, like so!


Now you have to cut out your side pieces (PIECE B) also on your folded fabric. As you probably figured out, (b) is the rest of the armhole. Just to check you've got the size right, (c) should be the length from about 1" below your armpit to your waistline (+1-2" seam allowance). (d), when taken together with (d) from the other piece and (d) from PIECE A (add all the widths together but only using one of PIECE A) should be 1/2 your waist measurement + about 3". (c) should be curved according to your bust.  If all my talk of measurements is ridiculously confusing, better make it a little too big so you can take it in later. As above, it should all vaguely make sense when you draw it out on paper haha.
Now make sure you have x2 PIECE A and x2 PIECE B from your lining fabric. You should end up with eight pieces.
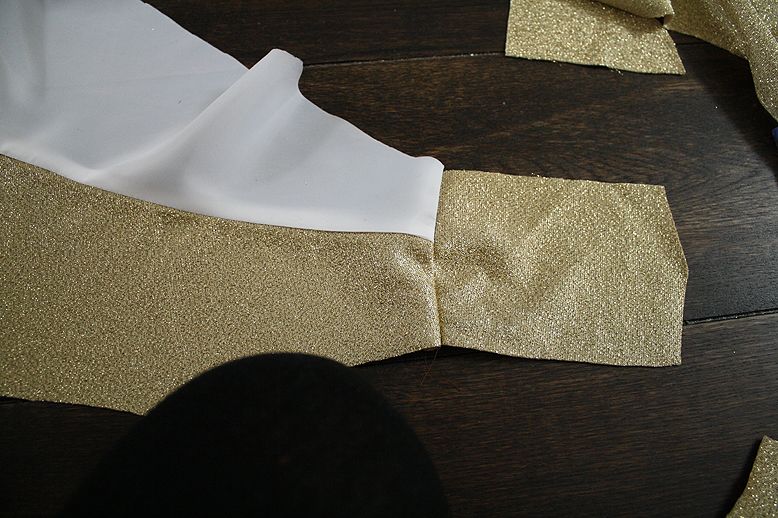
Pin PIECE A to the lining with right sides together and sew along the dotted line. Do the same for the other piece.
The seam should look like this when you turn it inside out. You can now trim and overlock or zigzag the seam if you so desire!

Turn the piece the right way round so the lining is on the inside but the seam is hidden, like above. You should now iron it so it sits nice and flat.
Now you have to make two shoulder straps for the back. These should be about 5" long, 4" wide but it depends on what you like / what fits you best / how wide you cut the shoulder on PIECE A. You can always trim them later. Open up your PIECE A so the lining and fabric are flat, side by side. 
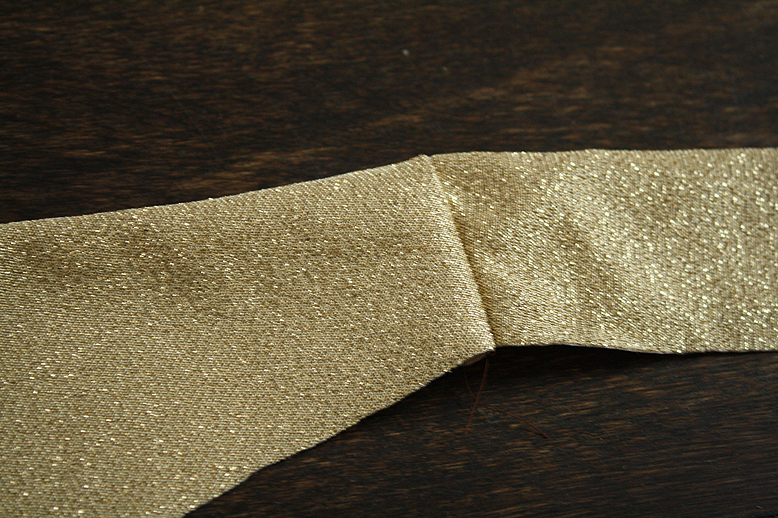
Pin one end of the strap to the opened out bodice piece, right sides together. Sew! When you open it out, it should look like above.
Fold it in half so the lining is on the inside again, press!
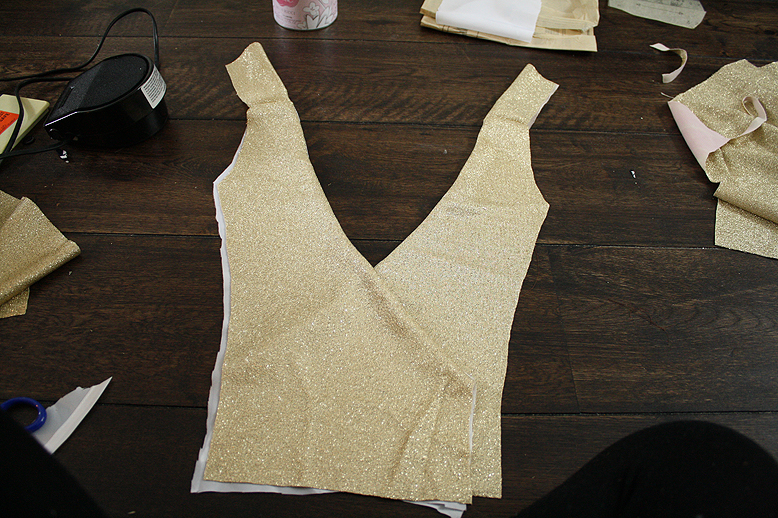
Just to see how you're doing, when you cross both PIECE As together, it should look like this now i.e. vaguely like a bodice hoho
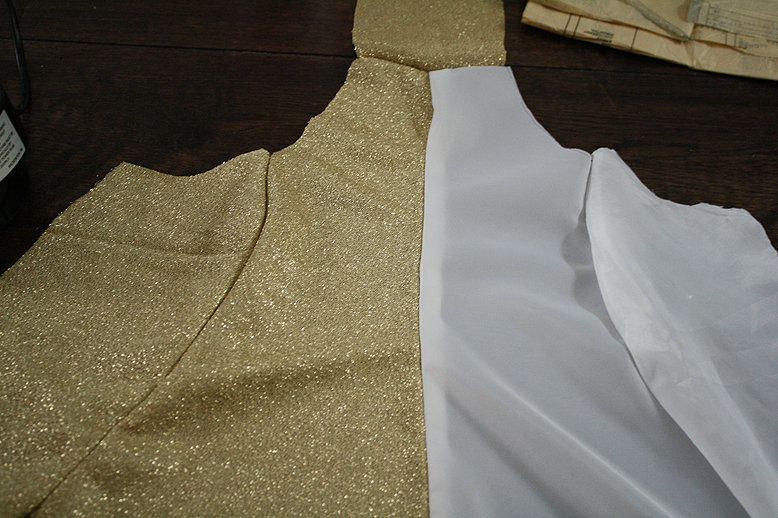
Line up the edges of PIECE A and PIECE B that are next to each other in the picture. Lay your PIECE B on top of PIECE A so that the edges meet, right sides together, and sew along that line.
Do this on both pieces and it should look like this when you turn it inside out.
Do the same with the non-lining pieces and it should look like this when opened out flat!
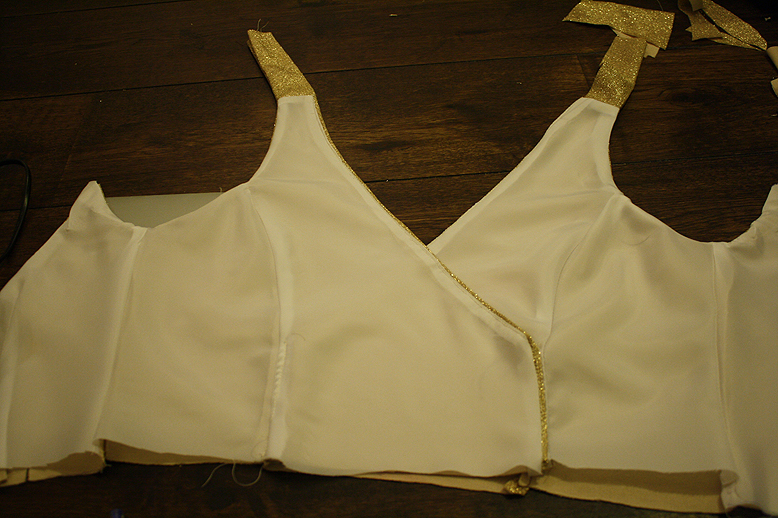
Fold so the lining is inside, press your seams, cross over both pieces and it should now look like this!
Focusing on the yellow line in the picture, turn inside out and pin.
Sew along this edge.

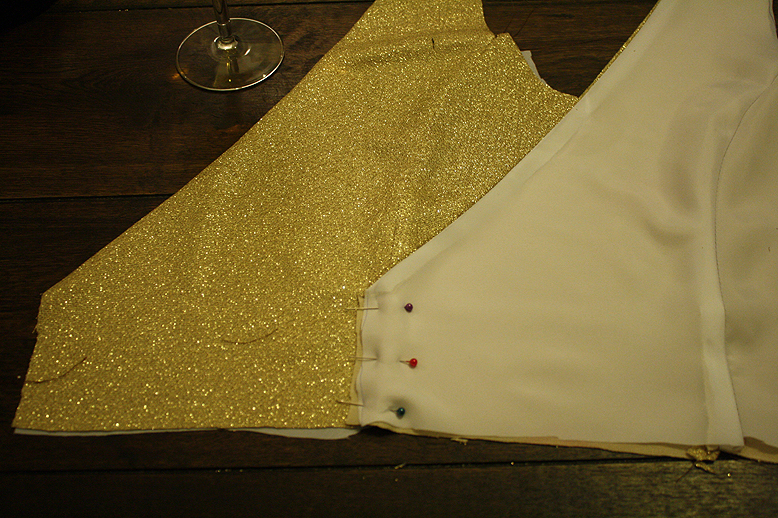
Probably a bit of a pin overload here but pin one side of your bodice to the PIECE A/B seam and sew along it. The seams should match up.
Do the same on the inside but make sure you only sew through the inner PIECE A and the lining of the outer PIECE A so you don't see the stitching on the side.

Forgot to photograph this part but cut two of PIECE C (another two for the lining). The bottom edge should be half your waist measurement + 5" (this is going to cross over) and the left edge should match up with the side edge of PIECE B. Sew the lining to these in the same way as you did PIECE A. Sew darts according to the markings.
It should look like this. Press.
Join PIECE C to PIECE B like so, lining to lining, non-lining to non-lining you know you know
Turn inside out, and stitch along the dotted line (around the arm hole) on both sides.
Turn inside out and it should look like this (except hopefully better once you iron it hoho)
Make sure the very edge of your back piece is sewn up (turn it inside it out and sew along the edge).

Now, I haven't actually done this so I don't have photographs for you, but because this crosses over, you shall need a button or two. Your sewing machine might have a button hole setting, but if now, set your stitch to zig-zag, very very close together and narrow. 
Here is a good tutorial for buttonholes, but you do not need a particular foot or a sewing machine with a buttonhole setting to make a buttonhole. Just use your small squished together zig zag and sew in a narrow rectangle (my buttonholes are generally like the one on the left in the picture), making sure it is long enough for your button of choice to fit through. Use your scissors to snip a little hole in your rectangle. Line up your button on the other side, sew it in place with a needle and thread. You should now have a perfectly good button and buttonhole. Repeat for however many buttons seem best and your bodice is now finished.

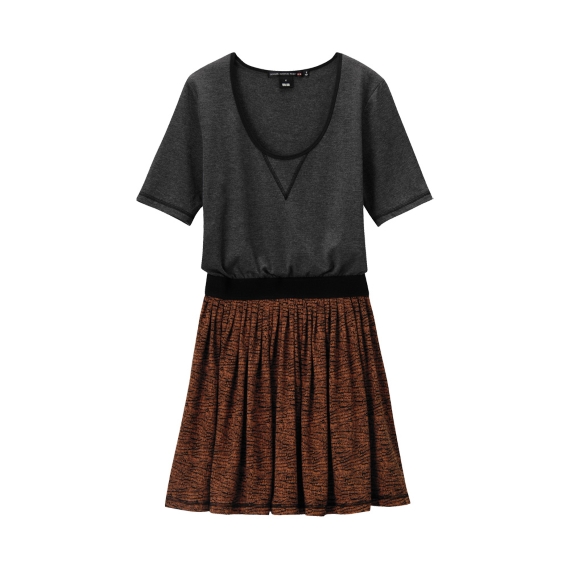
Refer to my 'easy summer dress' tutorial for how to attach your skirt. Leave one side seam of the skirt unsewn at the top few inches and maybe add some more buttons or a zipper. Hopefully my less next semi-complicated tutorial will make a bit more sense haha (:


'basics' post

10.5.11

Hey everyoneee.
My gold thing has been a disaster. I do have a tutorial to post, which I will do tomorrow, but the only successful part was the bodice which I finished ages ago. BASICALLY I cut out some pieces for the 'shorts' part (I was making a playsuit) but totally forgot to add extra inches for seam allowances and now it looks freakish. I can't really fix it without it looking like loads of small pieces stuck together (which it would be!) so I may leave it for the time being. I will post the tutorial for the bodice and tell you how to turn it into a dress, there will just be no real end result on my end hoho.

Anyway, sorry I haven't updated in ages. I've got my final exams coming up so have been spending much of my free time studying. I'm in the unfortunate position of all of my university offers being AAA so if I randomly get a B, I absolutely, completely screw up. I AM QUITE STRESSED.

I'm not sure how it is for you guys, but when I am stressed, my outfits become more and more basic. I begin to feel that most of my clothing is ridiculous and complicated and requires too much thought to even look acceptable, and that I quite simply do not have enough jumpers / collared shirts / tights i.e. I need a trip to Uniqlo.

Those who know me will be aware of my love of Uniqlo, so let me show you all the lovely things I want from there that could probably set you up with decent outfits for the rest of your life.

Jeggings (£24.99). Goshdarnit I don't have these yet but I want them. Only because they look like real jeans, mind you.  There are two reasons why I don't wear jeans: 1) I have short legs and they just don't look good on me. There is one pair of jeans (kind of like pre-jegging jeggings really) that look good on me, but I have no idea where they are. I bought them in a little boutique in Sydney Chinatown about 6 years ago which has since closed down. Jeggings seem like they would do the trick, but the only pair I own I have worn about twice because they do not look even remotely jeans-like; 2) I don't find jeans comfortable at all. I do find leggings comfortable. Yerp.

Polo dress: £14.99
I love polo shirts, I love dresses... I would buy this. There is nothing else I can say.

£24.99. I would probably wear this all the time. It looks really comfortable, it combines two of my favourite colours, it just looks nice.
£19.99. I have three shirts like this from Uniqlo! They are just so useful. I mean, yes, collared shirts like this can sometimes look a little corporate, but they are also comfortable, easy to wear, and smarten up outfits with no extra effort. I mainly like to wear light blue with navy, brown or beige.
There you go, doesn't she look nice. I think she does.


Jumper £24.99. Now they actually have very few jumpers on their website right now (probably because I am the only person still wearing them in this weather) but Uniqlo does such good knitwear. It's all so cosy. My favourite is the taupe one in the picture below. It's supposed to make you feel 'warm in winter and cool in summer' and let me tell you, IT DOES. It also goes with everything and, as was written in one of those free magazines you pick up at the station (stylist?), everyone looks more friendly in a jumper. So there you go. The picture on the right is actually from Cos, but I feel it more accurately portrays the ... essence of jumpers.

Anyway, moving on from Uniqlo...
A black (and brown) skinny belt! I own this exact belt from Asos (£6.99). I used to have one from Cue which I used for squillions of years but it broke a few months ago and this was the only patent black one I could find that wasn't a ridiculous price. I like to match my hardware (most things I have are gold coloured rather than silver) especially with something worn a lot like a belt.
(£27 from AA though I wouldn't exactly support buying one at that price) 
Pencil skirts! You all probably have one already, I just have to express that they are really useful and I wear them all the time.
This whole outfit (COS). Tapered trousers (they look good on short ladies such as myself), collared shirts, and a black coat. I generally use the coat I made (hopefully I will do a tutorial for this in future) but it's not quite as clean as this (£150). This is what I want to look like when I grow up and am one day a lady.


Here is today's outfit. Hope you guys are all doing okay (:
Shirt: second hand
Jumper: Uniqlo
Skirt: sister's
Shoes: Aldo
Watch and belt: Asos

Theme designed by Filipa • you are the poet