Tutorial: Turn a jacket into a cape

19.9.11


Now, I was going to make a cape from scratch (honest) but as the only thing I could really use for fabric was so close to what the end product would be, I decided to just make a 'reconstruction' tutorial.

Now I'm sure there are other ways to make capes, but this is just what made most sense to me. There are no pockets (though you could certainly add them if you wanted) but there are little holes for your arms to go through haha.


You will need...

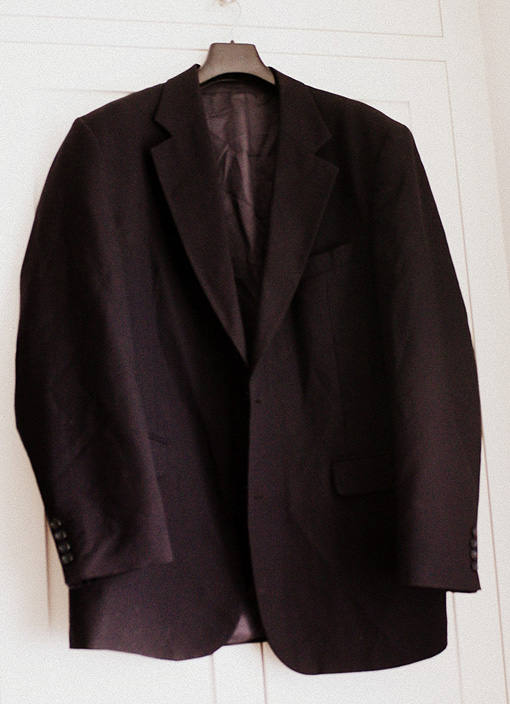
A sewing machine, seam ripper, scissors, one blazer / jacket / coat. The jacket I'm using is massively too big for me so I've made the shoulders smaller. You wouldn't have to do this if you used a smaller jacket, obviously. The only thing is that the length of the cape would be limited to the length of the sleeves unless you decided to add another piece on the side... but that could look weird? ANYWAY, do what you want.

Remove the sleeves using a seam ripper and set aside. Cut from the shoulders down both sides, from where you want the shoulders of your cape to sit. Either refer to your own shoulder measurements or use a jacket that fits you as a guide.

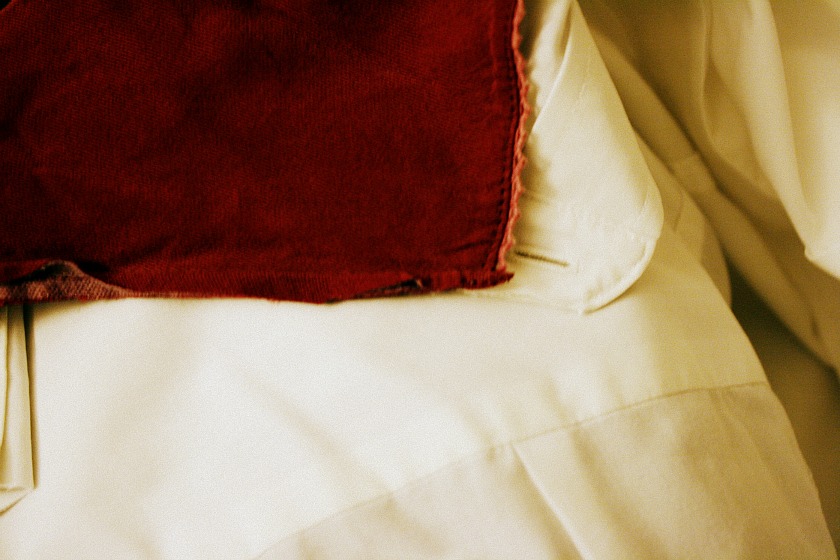
Use the seam ripper to open up the sleeves. Cut the sleeve (with the lining) into a kind of... smoother shape :| 

Right sides together, sew the 'sleeve' to the front and back of the jacket, stopping where you want your little ARM SLIT (what a terrible name but 'arm hole' is kind of already taken). Do the same with the lining. After that point, sew the main fabric to the lining fabric of the same piece.  So, the sleeve part will not be joined to the 'body' at that point, it will just have the lining and main fabric joined together. You know what I mean. When you want the slit to stop, rejoin the sleeve + body in the same way as before. Do the same on the other side. Now all you need to do is hem the whole thing (you should have to do some trimming first) and you are done.


Bye! (:

recent outfits n things

8.9.11

I got this done the other day! Yes, yes, I have joined the Mucha tattoo crowd but... well, yeah. I think this illustration is beautiful. She did a really good job and I am so pleased.. Just braggin'. 

Sorry for how bizarrely portrait-y this picture is by the way. It's even making me feel awkward. I'm going to keep it up there though, because my hair looks nice. YEAH.

But on to other things... here are two outfits. I have been wearing so much white recently. So much. Actually, I have been wearing this tight / shoe / dress combination a lot. I have worn this dress three times this week. These shoes almost every day. Maybe I'm just getting lazy, idk. Fun fact: this dress is the most expensive item of clothing I have ever bought. That doesn't say much, as 80% of my wardrobe is second hand, BUT STILL. I've got a lot of wear out of it and it still looks just as nice as it did back when I wore it to my Year 12 formal in '08!


I've worn variations of this outfit a lot recently, and figured I should take a picture before I get bored, but sadly I don't think the brightness of the coat really comes out in this picture! Maybe it doesn't look as impressive in real life as I think it does hoho.

Aaanyway...

Does anyone have anything in particular they'd like a tutorial for?

Most of the time I make things just because I want them, but I don't really want anything right now haha. If I have the right fabric (and whatever else is needed) for it, I will try anything.

Oh, and thankyou Kat (we very briefly ran into each other when I was in Berlin - what a coincidence!) for slipping me into her online magazine Frock&Roll! Click here to read the whole issue.


Bye!

Things to do with a button-down Pt. 2

1.9.11

Sorry I'm so flaky haha. It's the unfortunate combination of business + laziness. Oh, and I also have to apologise for the slightly bad photos in this tutorial! There's not a lot of space in my room right now. If anything is unclear, just ask and I will explain! Luckily this is probably the easiest tutorial I've made yet, so you shouldn't have any trouble.

You will need...


Two shirts + a sewing machine or needle and thread. Pick whatever colours you like / have. The shirts should be of similar material / weight. If one of them has more of a structured collar, you might need to sew some of the interfacing from that shirt into the other shirt. Or not, up to you.

What you must do...

From the collar, cut along the middle (or about 2cm to the right) of the back of one shirt (the one with the collar you want to keep) and remove 1/2 of the shirt. Do the same with the other shirt, but cut off the collar.


Oh god this is the most useless photo ever. Basically, right sides together, sew the collar to the other shirt-half. Make sure the space between the edge of the shirt and the start of the collar is even on both sides. Right sides together, sew the shirt-halves together along the edge you cut just now, and you should have one complete shirt!


In my case, because I have a mens shirt and a womens shirt I ended up with two sets of button holes. If this happens to you too, DO NOT WORRY. You can sew buttons on anyway and the old button holes will be covered up. If you don't have that problem, remove the buttons already on the shirt, and replace with the buttons that were on the other shirt. If you want. Up to you. Either way, you might need to reposition the buttons to make sure they match with the other shirt. BASICALLY, at this point you need to sort yer buttons out.


Cut off the sleeves. Or leave them, idk. Put it on, see if you want to take it in at all.

Take it in if necessary, make the shoulders narrower, hem the sleeves and the bottom, and you are DONE.


Theme designed by Filipa • you are the poet